 how-to
How to Verify Construction Contractor Quality: 2026 Guide
Table of Contents
- Step 1: Verify Licenses, Insurance, and Bonding Before You Sign
- Step 2: Review Project Drawings, Specs, and Building Permits
- Step 3: Ask Contractor References the Questions That Reveal Quality
- Step 4: Inspect Workmanship Standards and Material Testing On Site
- Step 5: Use a Construction Project Quality Checklist at Every Milestone
- Step 6: Manage Punch Lists, Corrective Actions, and Warranty Periods
- Step 7: Red Flags, Third-Party Verification, and Legal Recourse
- Conclusion: Quality Verification Is a Process, Not a One-Time Check
- Frequently Asked Questions
Last Updated: September 23, 2026
Step 1: Verify Licenses, Insurance, and Bonding Before You Sign
The fastest way to check contractor quality is to confirm the license, insurance, and bond before any money changes hands. A contractor who hesitates on paperwork will hesitate on your project.
Here is what to check, in order.
How to Check a Contractor License and Registration
Start with your state licensing board's online lookup. Search the contractor's name and company exactly as written on the contract.
Then confirm:
- License status is active, not expired or suspended
- The license type matches your project
- The business name and address match your paperwork
- There are no open complaints or disciplinary actions
Insurance and Bonding: What to Request and How to Confirm It
Ask for a certificate of insurance and a bond letter, never a verbal promise. Then call the insurance company directly, using the number on the certificate, to confirm the policy is current and the coverage limits are real.
| Document | What It Covers | How to Confirm |
|---|---|---|
| General liability | Property damage, third-party injury | Call the insurer on the certificate |
| Workers' comp | Injuries to crew on your site | Request the policy number and carrier |
| Surety bond | Your losses if the contractor defaults | Verify with the bonding company |
Step 2: Review Project Drawings, Specs, and Building Permits
Quality starts on paper. Before work begins, hold a full set of drawings and written specifications spelling out materials, dimensions, and finishes.
Ask for these in writing:
- Scaled drawings for every room or structure
- A written scope of work with brand names and model numbers
- A list of who pulls each building permit
- A schedule with project milestones
Step 3: Ask Contractor References the Questions That Reveal Quality
Anyone can hand you three phone numbers. The value is in what you ask. Call at least three references from the past year, and ask for one project still under warranty, that is where the real story lives.
Reference Questions That Go Beyond 'Were You Happy?'
Use these questions to ask contractor references:
- Did the crew show up when they said they would?
- How did the contractor handle a change order or surprise cost?
- Were there punch list items at the end, and how fast were they fixed?
- Did the final invoice match the original quote?
- Would you hire them again for a bigger project?
Step 4: Inspect Workmanship Standards and Material Testing On Site
Once work starts, visit the site at least weekly to document, not supervise. Bring a notebook, tape measure, level, and phone. Quality control runs on three things: what you can see, what you can measure, and what gets tested before it is covered up.
Workmanship Standards You Can Check Yourself
Walk the site with the drawings in hand and look for these:
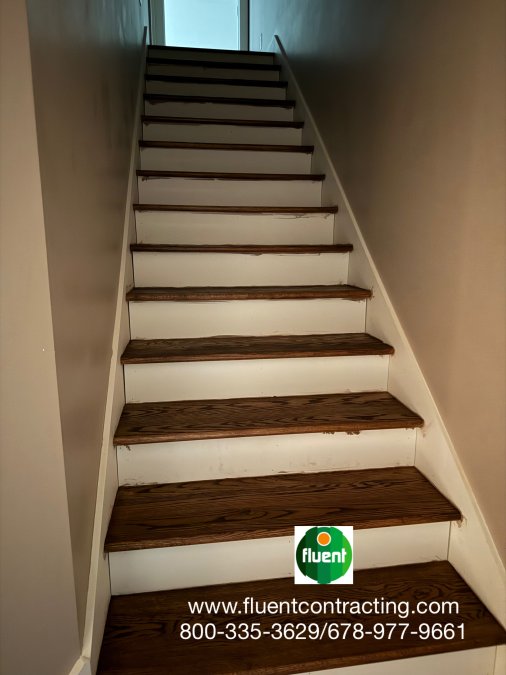
- Tile: consistent grout width, lippage (one tile edge sitting proud of its neighbor) you can feel with a fingertip, and grout lines that run true to the wall
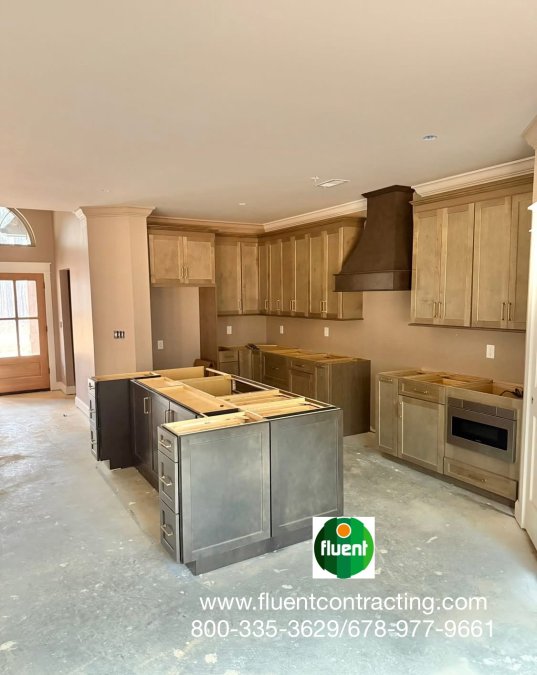
- Cabinets and trim: doors that close flush without a slam, consistent reveals (the gap between door and frame), and scribe joints that follow the wall instead of a wavy caulk line
- Framing: studs at consistent spacing, headers over every opening, and no notched or bored joists in the middle third of the span
- Plumbing and electrical penetrations: sealed, sleeved, and fire-caulked where they pass through plates or rated walls
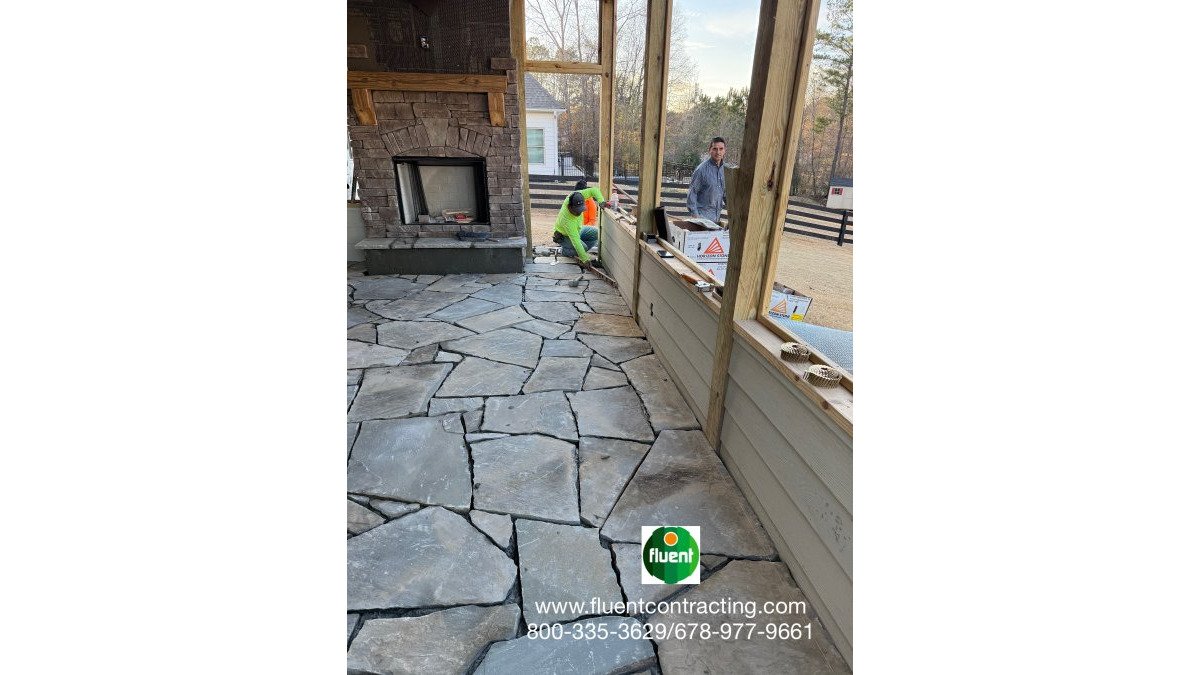
- Exterior: flashing at every penetration and transition, weep holes left open at the base of brick or stone veneer, and drainage that sheds water away from the foundation
Material Testing: What to Ask For and Why
Material testing is where a good builder separates from a fast one. You do not need to run the tests yourself, just know which should exist and ask to see the results.
- Concrete: field-cast cylinders are cured and broken in a lab to confirm the mix reached its specified compressive strength. Ask for the break reports.
- Moisture behind tile and under flooring: a moisture meter reading before tile or hardwood goes down. Wet substrate is the number one cause of failed tile and cupped floors.
- Fastener spacing and nailing patterns: sheathing, drywall, and roof decking each have a schedule. Ask the contractor to show you the pattern on the first sheet, then spot-check.
- Air and duct leakage: a blower door or duct leakage test on new construction and major remodels confirms the envelope performs as designed.
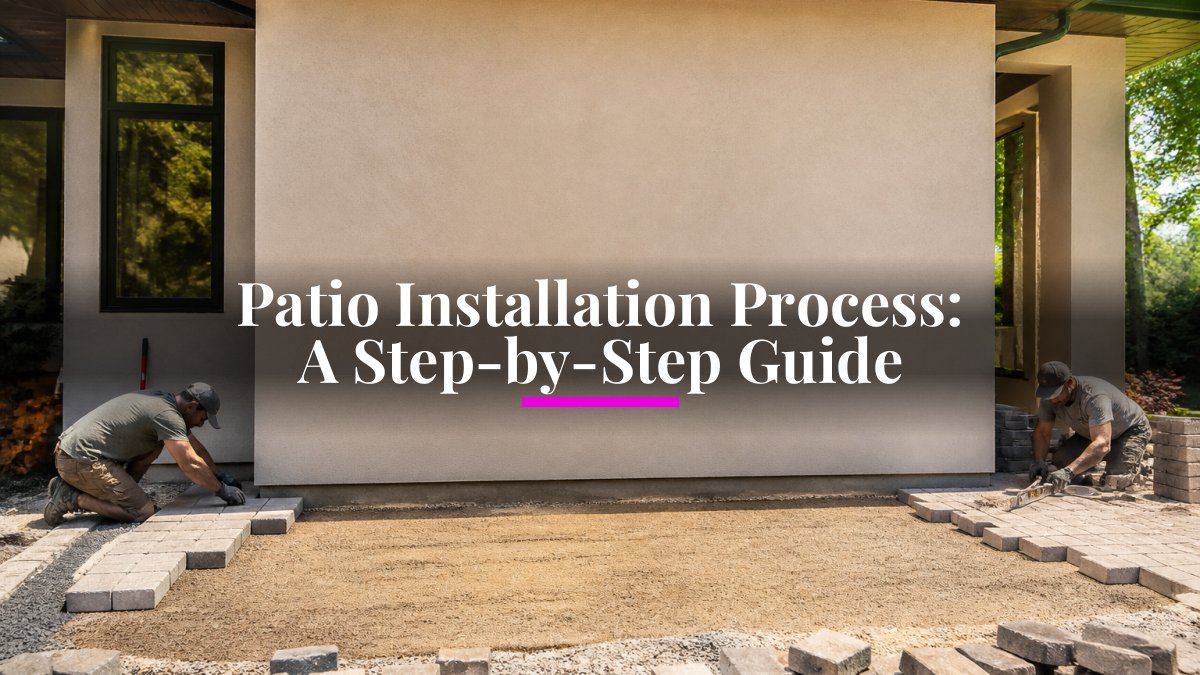
- Soil compaction: for slabs, patios, and driveways, compaction is tested before the pour. Skipping it is why concrete cracks in year two.
Document Concealed Work Before It Disappears
Concealed work, framing, wiring, plumbing, and insulation hidden behind drywall, deserves a dated photo record before it gets covered. Keep those photos with your project file; when a problem shows up years later, they are the only record of what is behind the wall.
Step 5: Use a Construction Project Quality Checklist at Every Milestone
A construction project quality checklist turns vague worry into a repeatable process. Tie each checklist to a milestone and sign off before the next phase starts.
| Milestone | What to Check | Sign-Off Trigger |
|---|---|---|
| Pre-construction | Permits, drawings, insurance, schedule | Before demo begins |
| Rough-in | Framing, electrical, plumbing, HVAC | Before drywall |
| Mid-project | Tile, cabinetry, waterproofing | Before finishes |
| Final walkthrough | Punch list, systems test, cleanup | Before final payment |
Step 6: Manage Punch Lists, Corrective Actions, and Warranty Periods
A punch list is a written list of incomplete or defective items found at the final walkthrough; a corrective action plan is your timeline for fixing them.
At the walkthrough:
- Walk every room with a notebook and the contractor
- Photograph each issue
- Write each item with a clear fix and a deadline
- Hold final payment until the list is cleared
The warranty period is where contractor quality shows its true colors. A builder who answers warranty calls quickly is a builder who did the work right the first time.
Step 7: Red Flags, Third-Party Verification, and Legal Recourse
Most guides stop at license checks and a punch list. The three things that actually protect you when a project goes sideways are reading behavior early, hiring your own inspector, and knowing your legal options before you need them.
The Behavioral Red-Flag Checklist
Technical specs tell you what good work looks like; behavior tells you whether you will ever get it. Watch for these patterns:
- Vagueness under pressure. Ask a direct question about licensing, insurance, or a schedule and watch whether the answer gets shorter or longer. Evasion is a pattern, not a one-off.
- Deposit pressure. A request for a large cash deposit before any work starts, or a request to pay a crew directly instead of the company, is a cash-flow warning sign.
- No paper trail. No written contract, a contract with no start or end date, or change orders handled by text message only.
- Revolving crew. A different crew every week with no named supervisor means no one owns the quality of your job.
- Excuses instead of schedules. When you ask for an update, you get a reason, not a date.
- Deflection on inspections. A contractor who discourages you from being on site, or who resists a third-party inspector, is telling you something.
Independent Third-Party Verification
When you want an unbiased opinion, hire your own inspector, the single most underused tool available to a homeowner, and the cleanest way to verify quality without relying on the contractor's word.
Who to hire depends on the stage:
- A licensed home inspector for a pre-drywall or milestone walkthrough on a residential project
- A licensed professional engineer for structural questions, foundation concerns, or anything involving load paths
- A specialty inspector for roofing, stucco, or HVAC commissioning on larger scopes
How to make it work:
- Hire the inspector directly. You pay them, so they answer to you.
- Schedule inspections at the same milestones as your checklist: pre-construction, rough-in, pre-drywall, and final.
- Ask for a written report with photos and code references, not a verbal summary.
- Share the report with your contractor in writing and set a response deadline for each item.
Digital Tools That Keep the Record Straight
You do not need project management software built for general contractors. A few simple tools do the job:
- Timestamped photo apps so every site photo carries a date and location
- A shared cloud folder for drawings, permits, change orders, inspection reports, and photos, organized by milestone
- A simple milestone tracker (a spreadsheet works) that logs each sign-off, who signed it, and when
- A running communication log of every decision made by phone or in person, confirmed back to the contractor in writing the same day
Legal Recourse If Quality Standards Are Not Met
If quality problems go unresolved, your options escalate in a predictable order:
- Written demand letter. Cite the contract, the specifications, and the applicable building code section for each deficiency. Set a cure deadline. Send it certified mail.
- State contractor licensing board complaint. Every state licensing board accepts complaints against licensed contractors. A board investigation can result in fines, suspension, or revocation, and it costs you nothing to file.
- Mediation. Many construction contracts include a mediation clause. Mediation is faster and cheaper than court and often resolves disputes that a demand letter could not.
- Small claims court. For disputes under your state's small claims limit, you can file without a lawyer. Bring your contract, your inspection reports, your photos, and your communication log.
- Civil litigation. For larger disputes, an attorney experienced in construction law can pursue breach of contract or warranty claims. This is the last resort, not the first.
Do not stop making payments or walk off the job without legal advice. Stopping payment can be treated as a breach on your side and can weaken your position. Document the deficiency, send the demand letter, and follow the contract's dispute process.
A contractor who welcomes your inspector, hands over test reports, and answers a demand letter with a schedule is a contractor worth keeping. One who fights all three is telling you what the warranty period will look like.
Conclusion: Quality Verification Is a Process, Not a One-Time Check
Verifying a contractor is not a single background check. It is a habit you keep from the first phone call to the last warranty repair.
Frequently Asked Questions
What documents should I request to verify a contractor's past performance?
Ask for a current license number, certificate of insurance listing general liability and workers' compensation, surety bond information, and a written list of three to five recent projects with addresses or photos. Request lien waivers from prior jobs and copies of any active complaints or resolutions. For renovation work, ask to see signed contracts and change orders from past clients so you can compare how scope changes were handled. Cross-check the license and insurance directly with the issuing state board and the insurer, not just the paperwork the contractor hands you.
How do I check for active complaints against a construction company?
Search your state's contractor licensing board database and the Better Business Bureau for complaint history. In Georgia, the Secretary of State and the Georgia Attorney General's Consumer Protection Division maintain records you can search. Also check your county magistrate court for small claims filings and the county building department for permit violations or failed inspections. A contractor with one resolved complaint is normal; a pattern of unresolved complaints about the same issue, such as abandoned jobs or unpaid subcontractors, is a serious warning sign.
What is the difference between a contractor's quality control plan and their actual work quality?
A quality control plan is the written process: who inspects what, when inspections happen, what acceptance criteria apply, and how deficiencies get logged and corrected. Actual work quality is what you see on site: straight lines, level surfaces, sealed penetrations, and clean concealed work. A plan is only useful if it is followed. Ask for inspection reports, deficiency logs, and corrective action records from a recent project. If the contractor cannot produce them, the plan exists on paper only.
How can I distinguish between high-quality craftsmanship and subpar work?
Look at details that are hard to fake: tile joints that line up across the room, cabinet doors that close flush, grout lines of consistent width, and caulk beads that are smooth rather than smeared. Check concealed work before it is covered, such as framing, waterproofing, and plumbing rough-in. Ask whether material testing was done on concrete or structural components. A contractor who welcomes a third-party inspection and documents each milestone is usually delivering work that will pass a final walkthrough without a long punch list.